
Physical Blade Adjustment:
1. Blade Tip Extension: Begin by adjusting the blade tip so that it minimally protrudes from the holder. The extension should be just sufficient to cut through the material without scoring or damaging the backing layer. Striking the right balance here is essential for ensuring clean, professional cuts.
2. Protrusion Guidelines: A practical rule of thumb is to adjust the blade extension to approximately half the thickness of the material you are working with, or roughly equivalent to the thickness of a standard credit card. As a test, press the blade gently against your finger; the tip should feel almost imperceptible but still tactile.
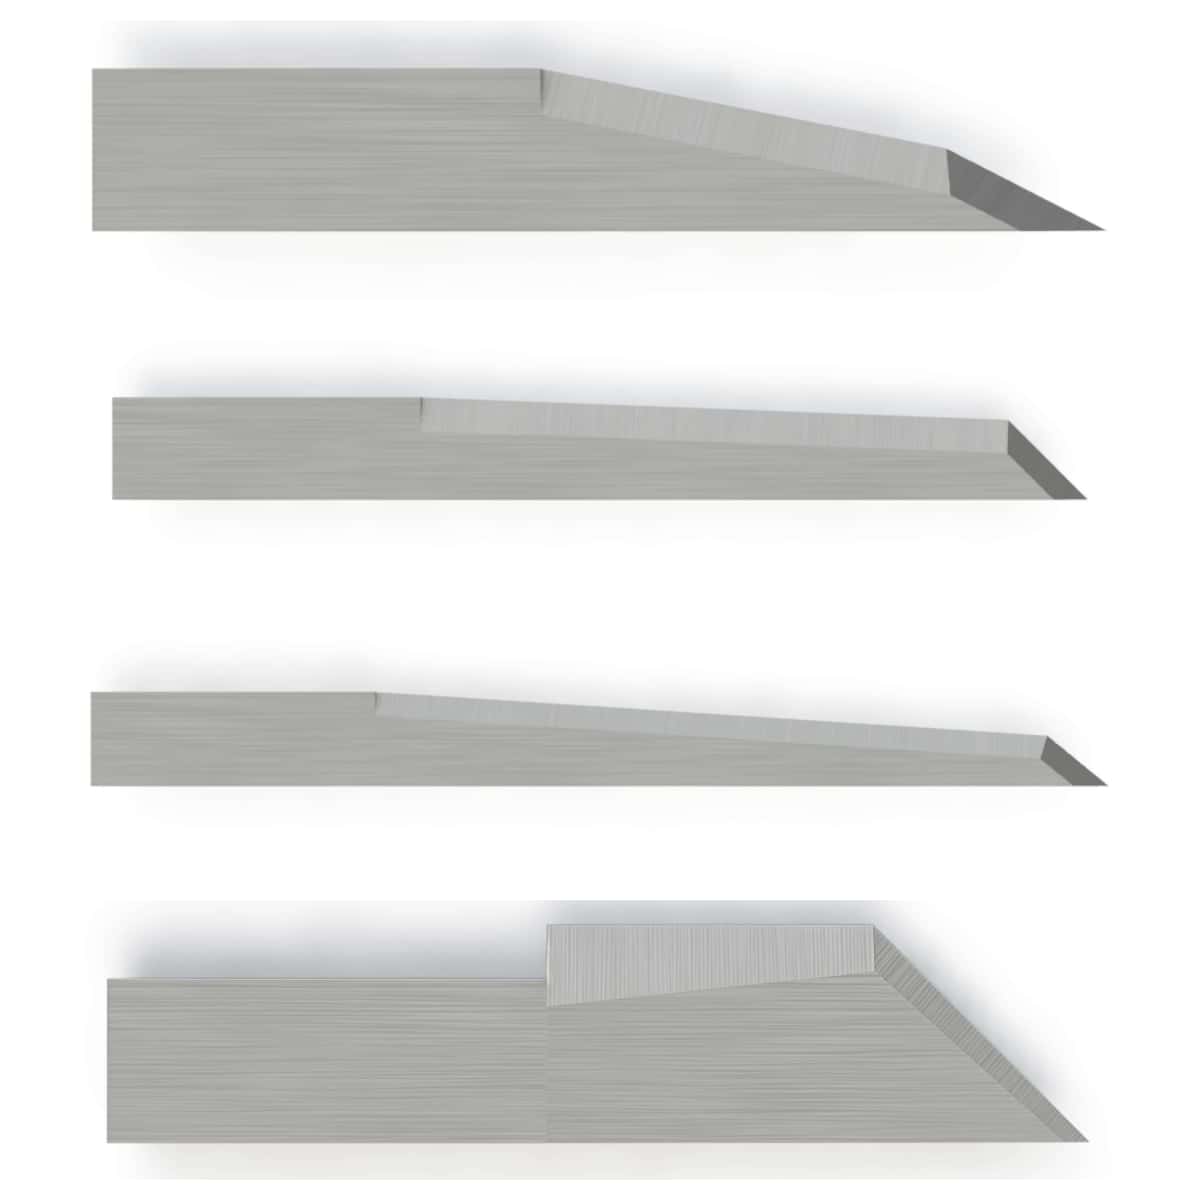
3. Blade Selection: Choosing the correct blade type for your specific task is equally important. For thicker, more robust materials, employ a 60° blade for added cutting power, while thinner or standard materials require a 30–45° blade for finer precision.
4. Tool Holder Check: Ensure that the Kiss-Cutting Knife tool on the SharpCut cutter is functioning properly. This tool uses a floating glide shoe to regulate blade depth, helping to maintain consistency throughout the cutting process.
Adjusting with Colex Software Settings:
1. Using the Set Z Zero Function: If you notice that your tool is cutting either too deeply or too shallowly, take advantage of the "Set Z Zero" feature in the software. This will allow you to calibrate the depth accurately for each specific blade or task, enhancing overall precision.
2. Fine-Tuning Overcut and Composition Settings: When using specific tools, such as a single-edge knife, consider configuring an overcut value (e.g., 0.125 inches). This slight extension helps achieve sharp corners and improves overall cutting precision by compensating for material drag during cuts.
3.Performing Test Cuts: Before initiating full-scale cuts, always execute a few test cuts through the software to fine-tune parameters like cutting pressure and depth. This ensures that the tool smoothly clears the material without piercing too deeply or inadequately scratching the surface.
Validation and Quality Assurance:
1. Testing Output: Once setup is complete, verify your adjustments by attempting to cut small shapes like squares or circles from your material. These test shapes should be well-defined and easy to "weed" or separate from the backing material.
2. Checking for Backing Damage: If you observe any scoring, heavy marks, or complete penetration of the material's backing, revisit your blade settings. Gradually reduce either the blade depth in its holder or the downforce applied by the machine until only the material itself is being cut cleanly.


SHARE:
PREV : Jingwei JWEI Flatbed Digital Cutter Tables Knives Knife Blades Overview NEXT : How To Select Knife Blades For Colex Flatbed Cutters


